

Settings
Guide on managing Klarna credentials, API keys, and SFTP for integrating services. Includes steps for client identifiers and updating account details to improve customer experience.
In this section on Klarna Portal you will find all tools required to manage everything related to credentials associated with your account, as well as account details.
Klarna API keys
This feature enables you to create API keys to connect Klarna to your store.
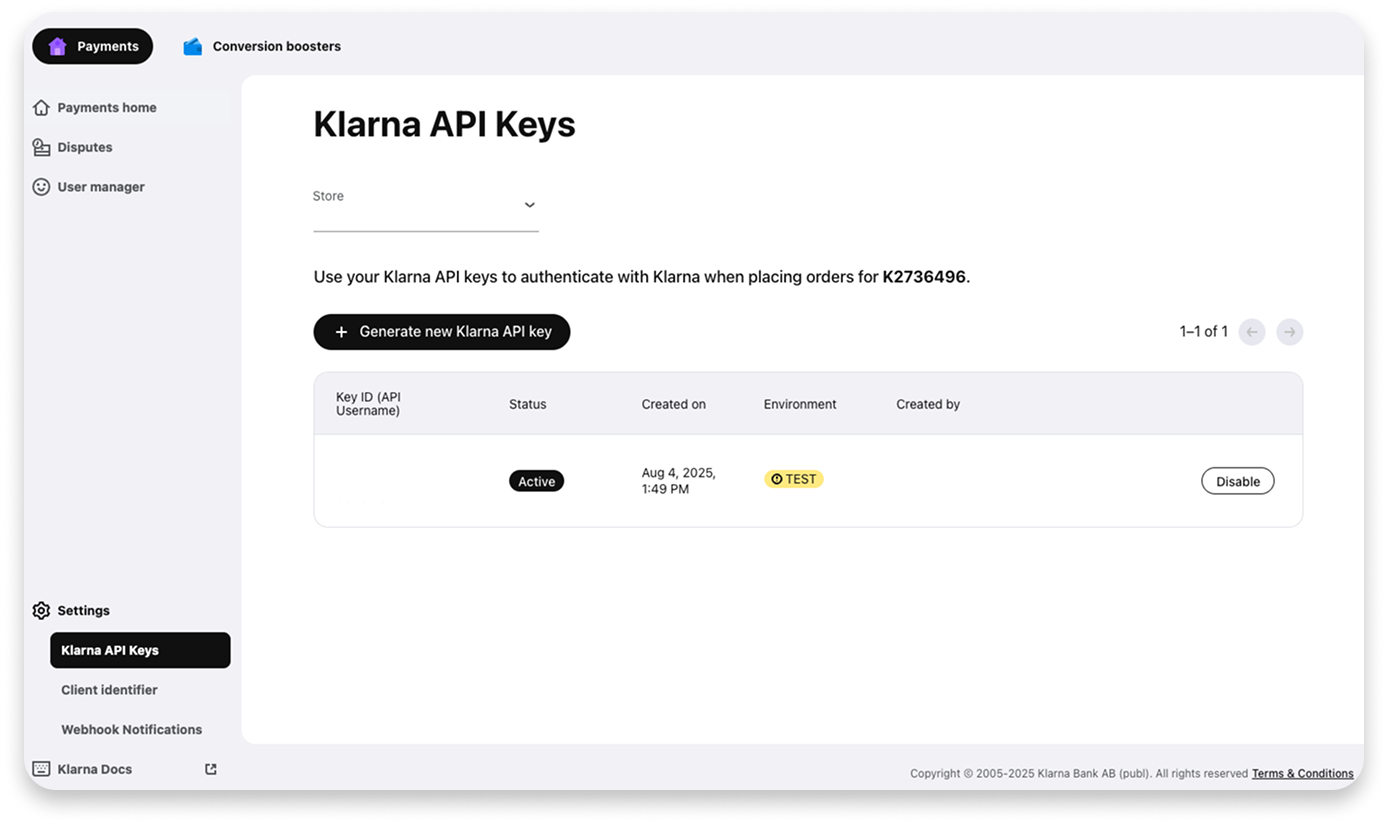
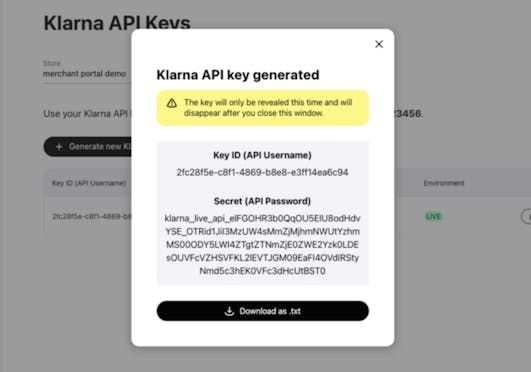
By clicking on "Generate new Klarna API key", you will get a new API key. It can only be accessed once, so downloading it is essential.
An API key may not be needed and in use anymore, one can disable it by clicking "Disable" and confirming that action by pressing "Disable credentials" in the following screen.
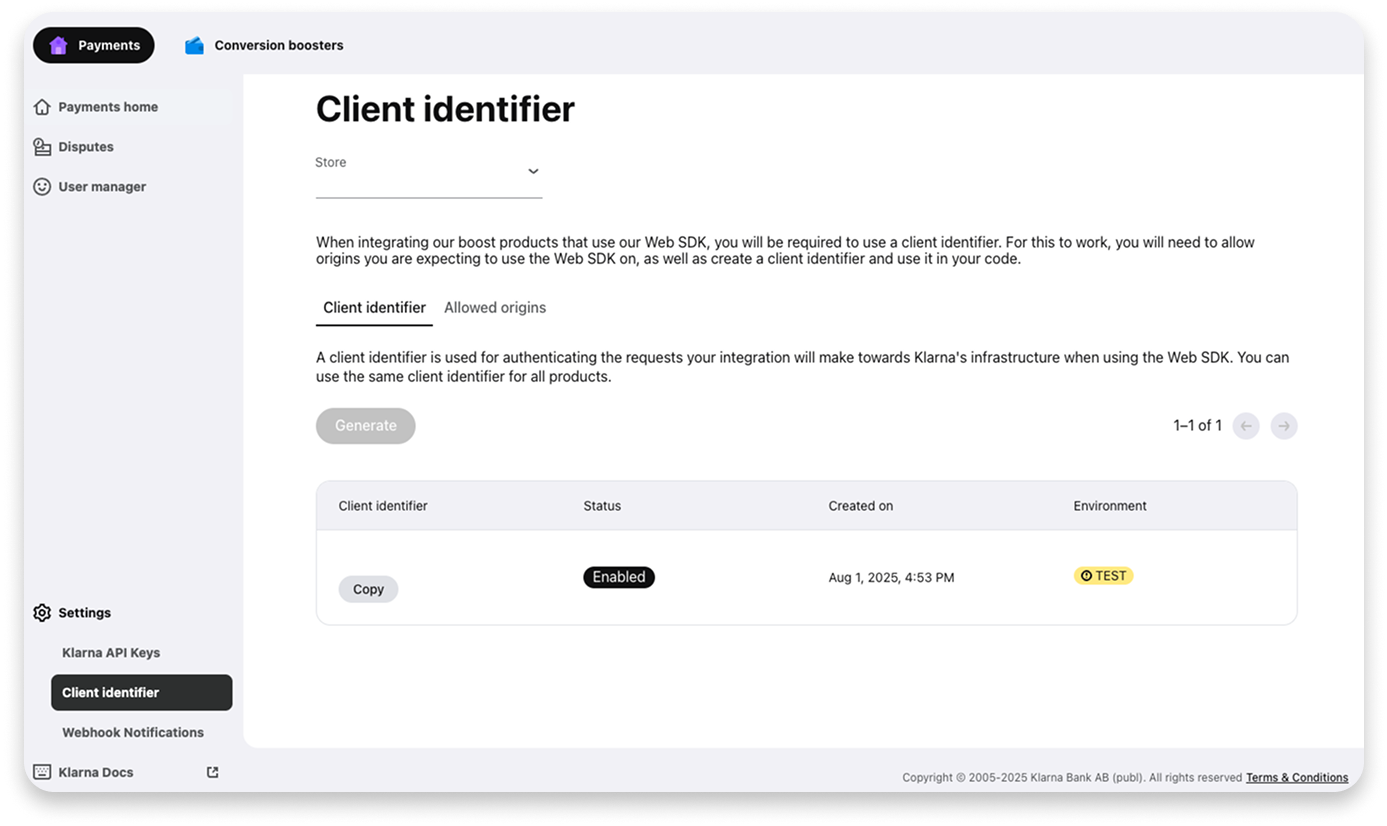
Client identifiers
When integrating products like On-site messaging or Express checkout, using our Web SDK, you'll need to utilize a client identifier. To enable this functionality, you must register the origin domains where you plan to deploy the Web SDK and create a corresponding client identifier for use in your code. Your integration partner manages your origins. To add a new origin, set up a new store in their system and enter your store URL. The new origin will then be shown in the Portal.
Follow these steps to create a client identifier:
1.Go to "Client Identifiers" section.
2.If you have access to multiple entities with the same user, select the corresponding one from the dropdown selector at the top of the page. The selector displays Partner Accounts or Stores, depending on your setup.
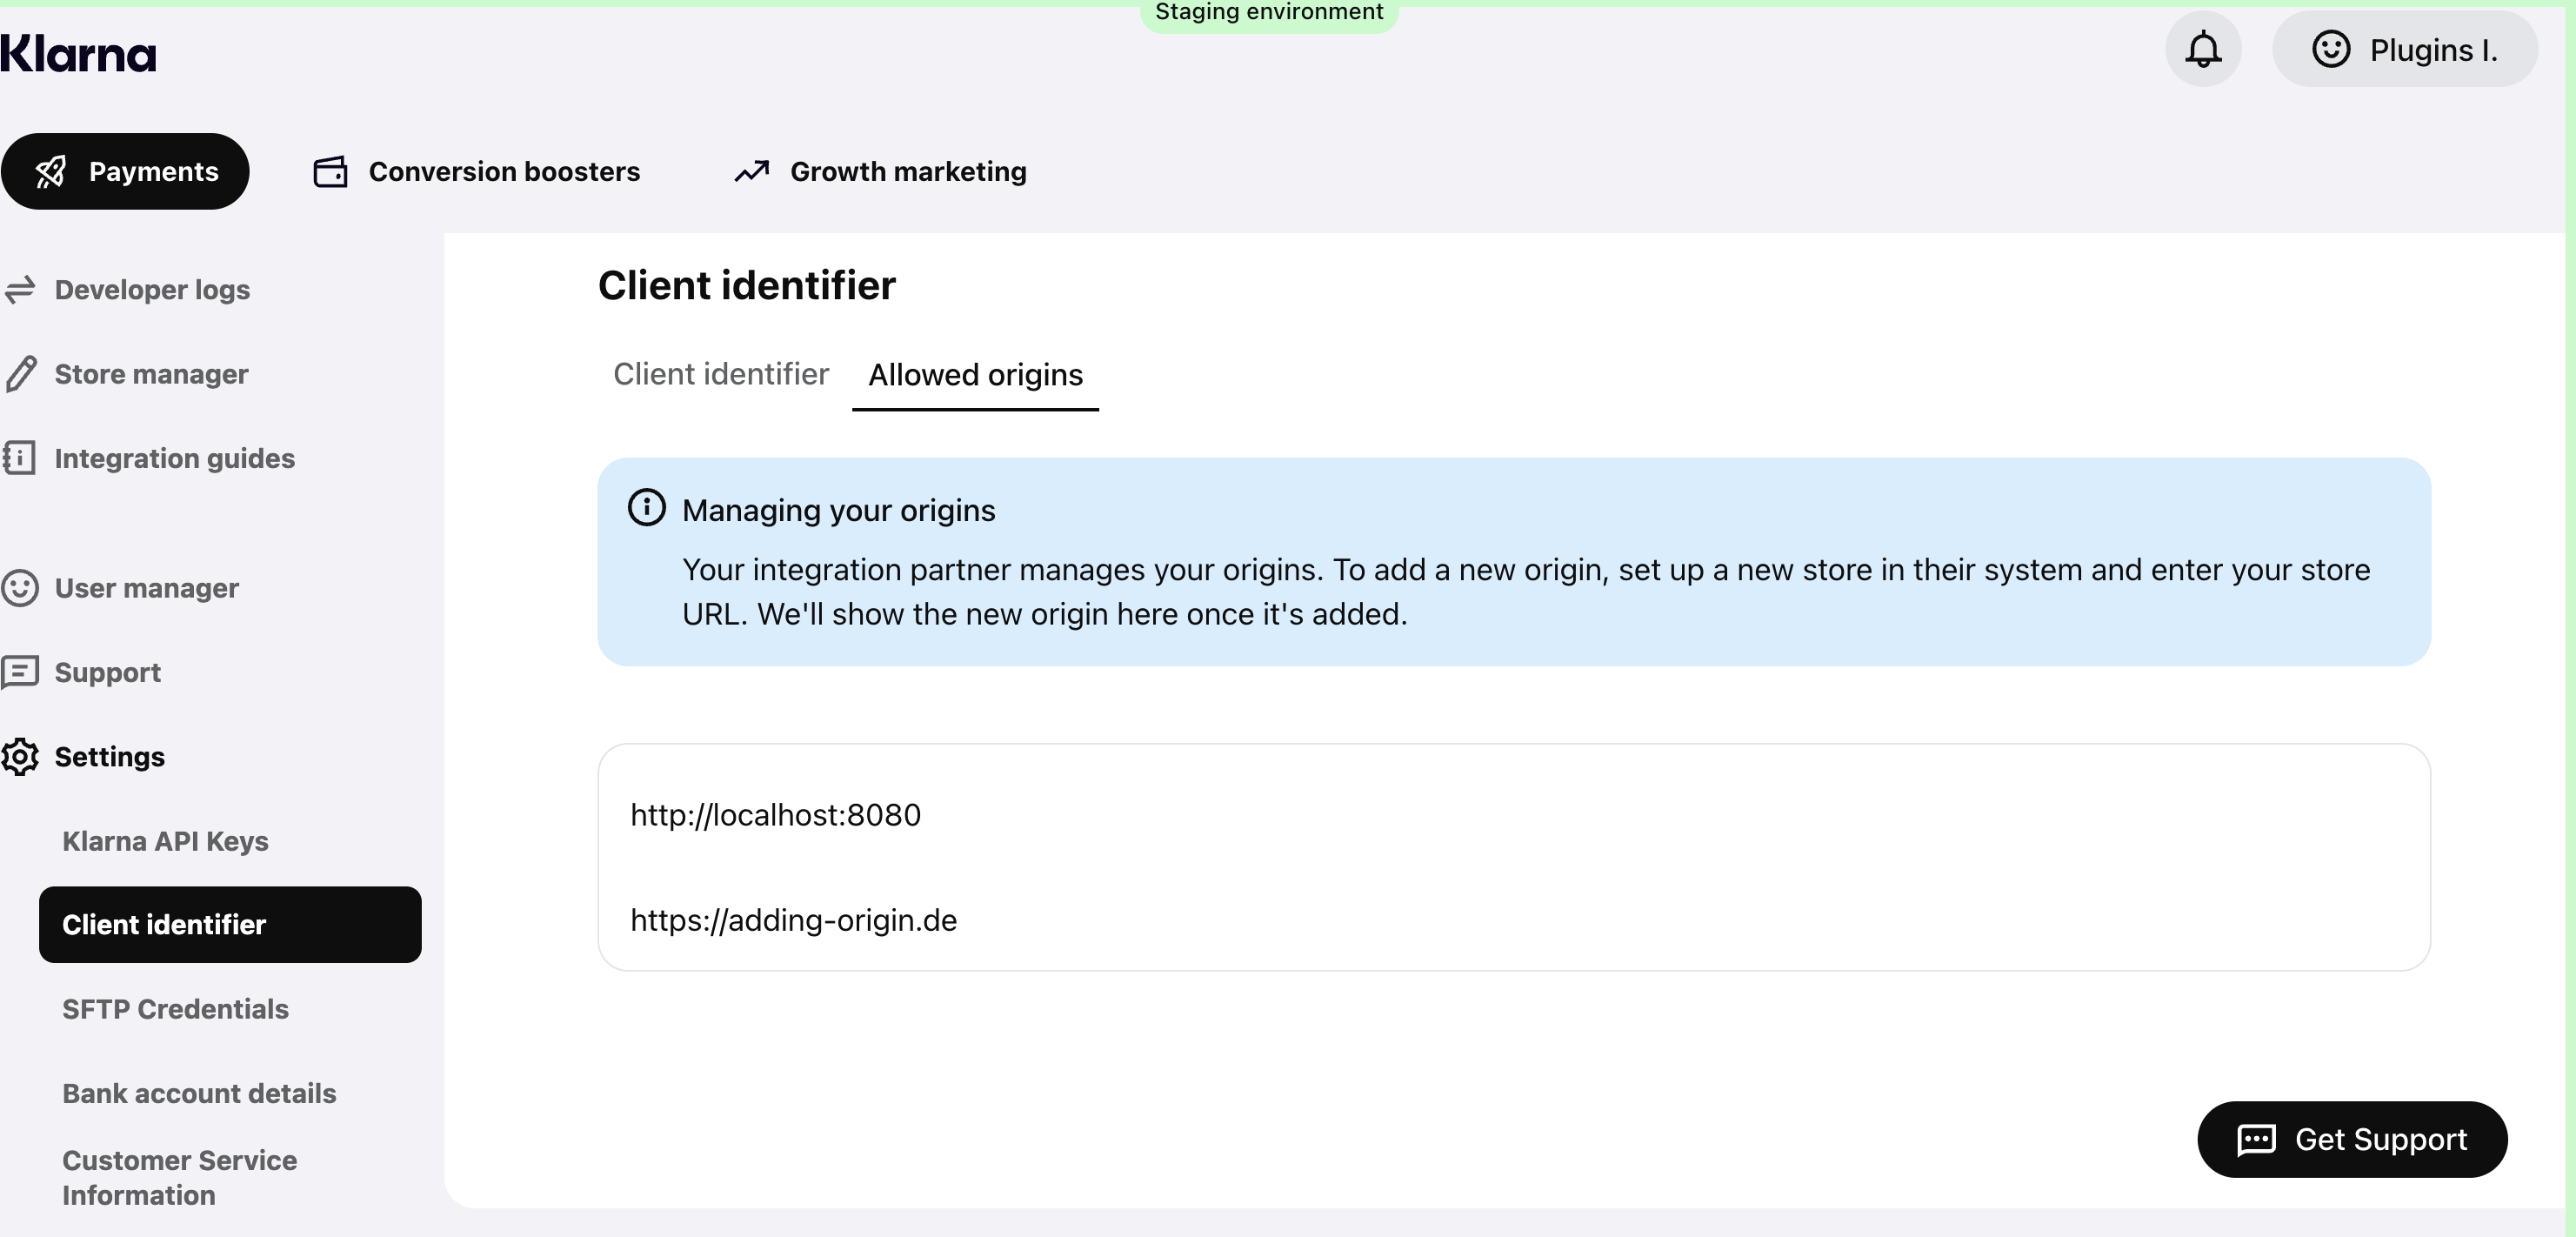
3.Ensure that the Partner URLs are registered as Allowed Origins by clicking in "Allowed Origins" tab to check if your origin is listed.
If your origin is not listed please go back to step 2.
Only one client ID can be associated with an account.
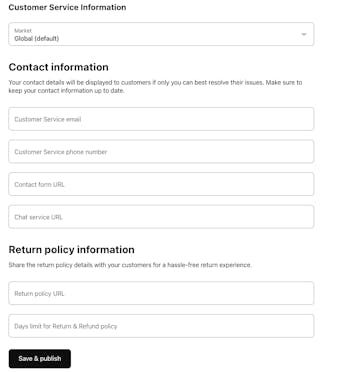
Customer service information
On this page, you can input the contact details for your store. Klarna will share this information with customers who need to contact you. You have the option to add this information either by market or globally.
Here's what you can include:
- Contact information: You can provide phone numbers, email addresses, and chat support options for customers to reach out to you.
- Return policy information: Add details about your return policy here so that our support teams can assist customers accordingly.
Webhook Subscriptions
In this section, you can manage all webhook subscriptions associated with your account. Webhooks allow your systems to receive real-time notifications from Klarna whenever specific events occur — such as order updates, payment status changes, or disputes.
If you have already created webhook subscriptions, they will appear in a list on this page. For each subscription, you can review the configuration details and verify which events you are currently listening for.
To view or check a subscription:
1. Locate the subscription in the list
All existing webhook subscriptions will be displayed along with basic information such as the endpoint URL and status.
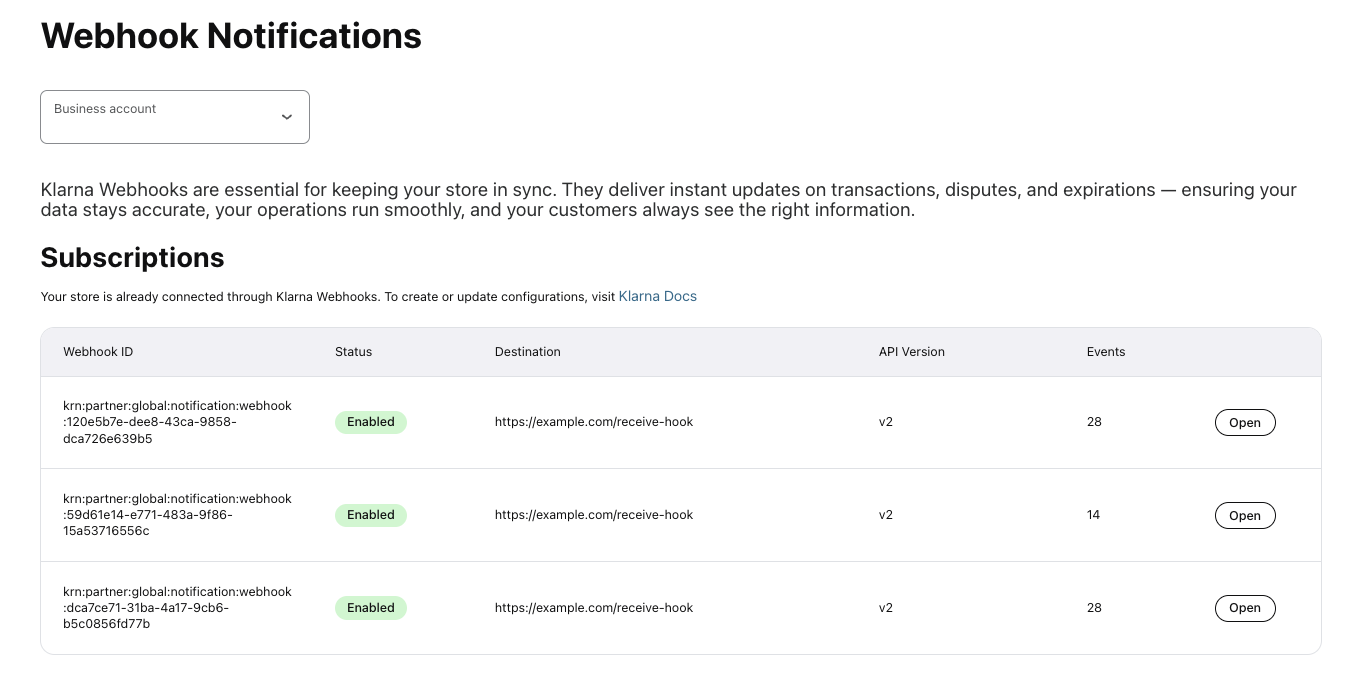
Webhook subscriptions list
2. Open subscription details
By clicking “Open” button on a subscription, you can access a detailed view. This page shows the full configuration, including the exact event types registered for that subscription.
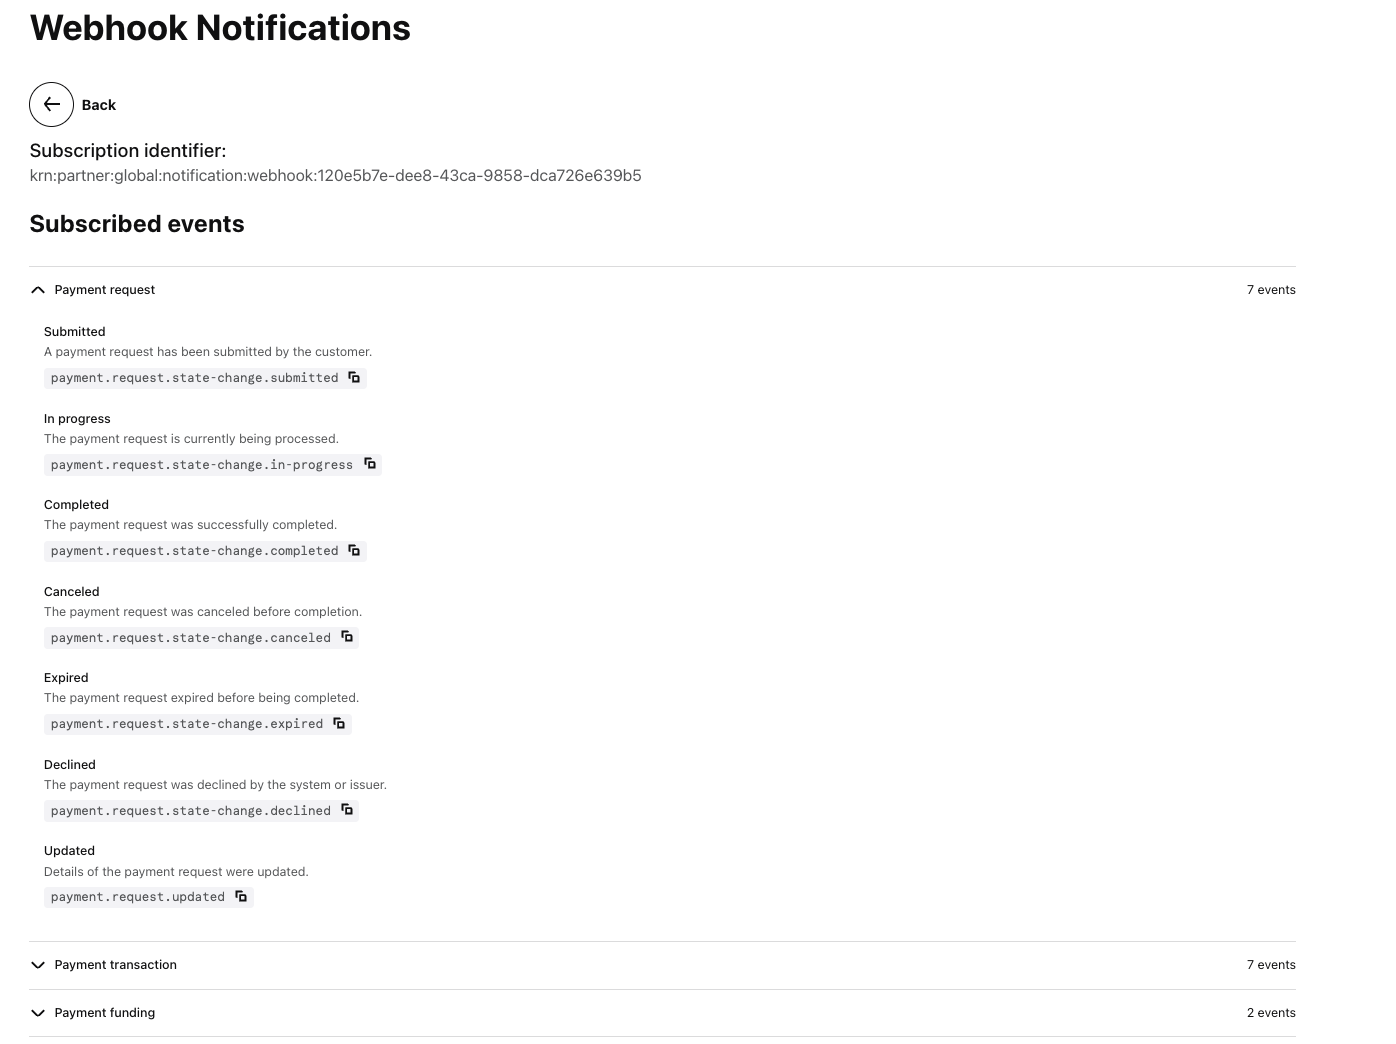
Webhook subscription detail
3. Verify subscribed events
In the details view, you can see the list of events your integration is listening to — helping ensure your system receives all necessary notifications from Klarna.